Finding Hidden Treasures
Older homes often have beautiful native floorboards hidden under dirty carpet. When properly restored, this will add quality and character, write Caleb and Alice Pearson, of Pearson + Projects.
12 March 2024
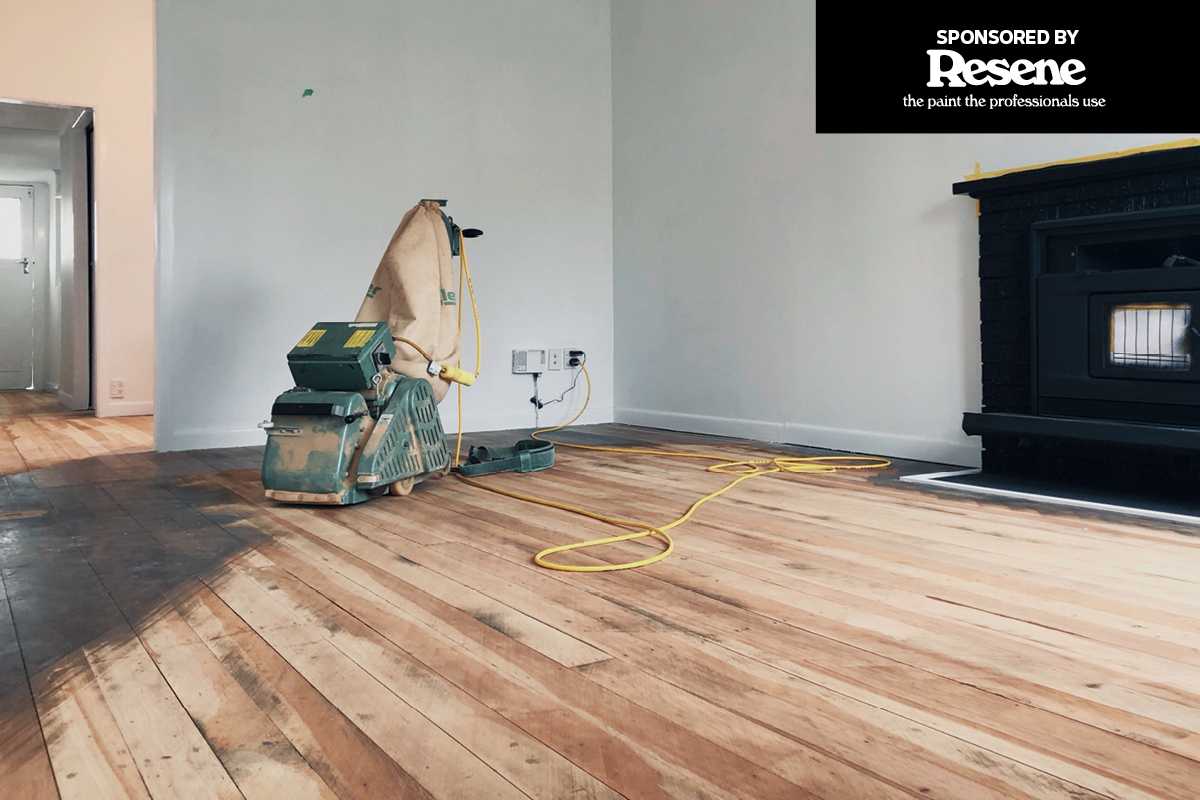
Sanders are a key component of floor renovations.
One of the great things about older homes in New Zealand is there is a good chance there will be native timber flooring in your house. Especially prior to the 1970s, tongue and groove native timber was the go-to flooring. While valued now by many, at the time these timber floors were normally covered by vinyl or carpet.
Now property owners have the chance to uncover and restore this native wood back to its potential.
We are no strangers to timber flooring. Having renovated many older homes, when provided the opportunity we always like to take advantage of restoring wooden floors. Often there’s a quality flooring that has been preserved for many years, ready for you to uncover and bring to life. If it’s something you have the chance to do or are considering, here’s an overview to get you started.
Why Restore?
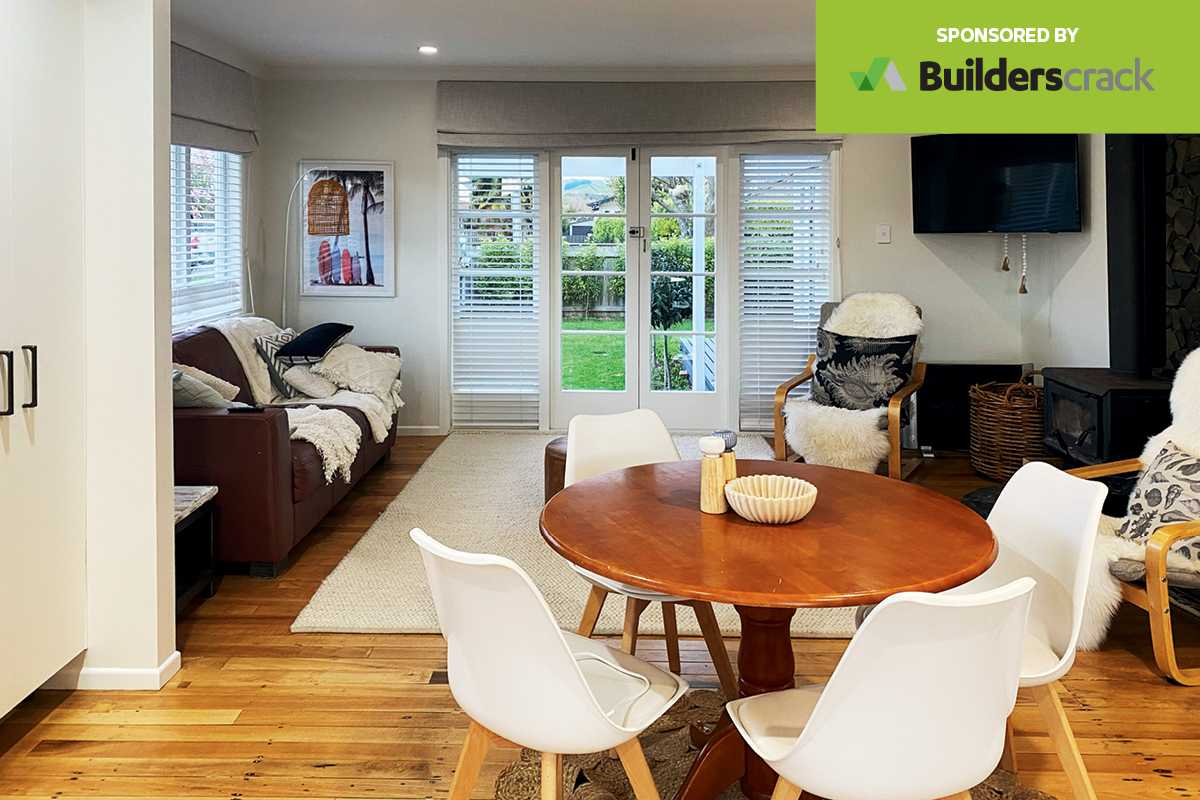
Timber floors have many benefits, and at the top of the list for us is we love the finished look. Wood provides a warm, natural feel to a house, adding character through the natural grains and patterns in the timber. It’s a very practical surface – extremely hard wearing and durable, easily cleaned, and can later be sanded and refinished if it starts looking scratched and worn. This makes it suitable for either your home or investment property.
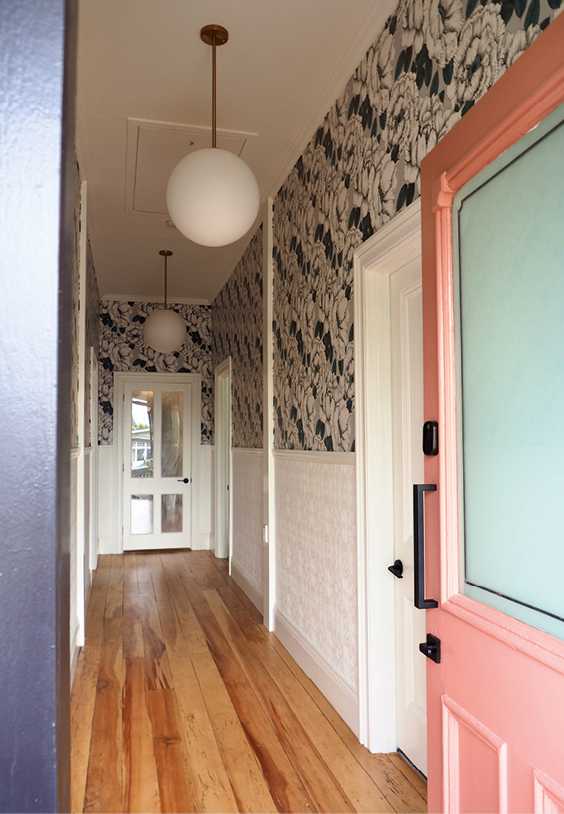
Beautiful wooden floors, hidden for years, emerge as the stars of this hallway.
Which Rooms?
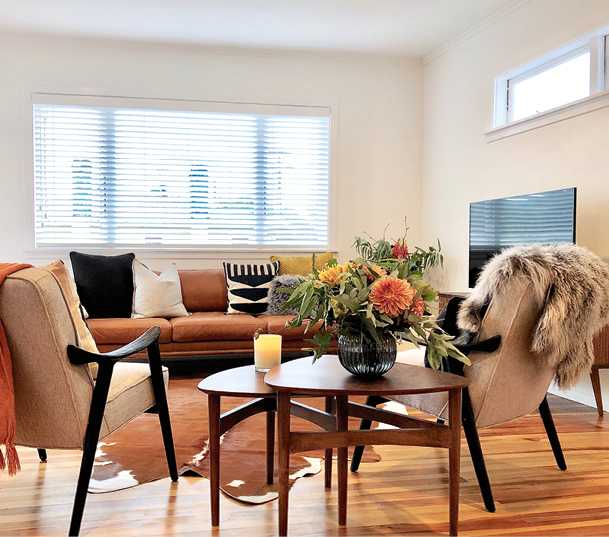
If your home has wooden flooring, it’s likely to cover the full extent of the original footprint. Our approach is typically to restore the wooden flooring in hallways, living spaces, kitchen and bathrooms where possible. It’s a great surface where there is high traffic, and for wet areas where there might be water or moisture on the floor. Our preference is for carpet in bedrooms for comfort and warmth.
The Process
We have used contractors as well as doing this ourselves by hiring sanding equipment. Regardless of which way you approach this, the process remains the same. The key steps are:
1. Remove all furniture, curtains, belongings. It’s recommended no-one lives in the house, as the rooms can become dusty from sanding, are unusable while the finishes dry and, depending on the product, will produce an odour when applied.
2. Prep the rooms. Remove any existing floor coverings, staples, nails or protrusions from the floors. Nails sticking up need to be punched down. Patch and repair where required; there may be damage or holes in the wood. Fill these with suitable wood filler to match the colour of your wood.
3. Sand the floor. Using the relevant sanders, work through various levels of sandpaper, from rough to fine, until you have an evenly sanded floor. If you have an existing surface or roughness to even out, start with a lower grit sandpaper throughout the area before moving to a finer sandpaper. Work with a drum sander for the bulk of the floor, an edging sander against the skirtings and edges, and a detail sander to reach the corners.
4. Clean the floors. Make sure your floors (and rooms) are completely cleaned of dust from sanding, and make sure they remain clean until you seal them. Wood in a raw state is very susceptible to absorbing liquid, dirt and being stained.
5. Seal the floor. Using the application details of your chosen finish, apply required coats over the timber flooring and allow necessary curing time.
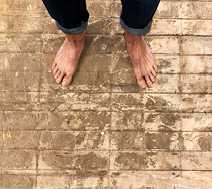
The floors of this home were a mess before their makeover.
Seal Finishes
There are multiple options to seal wooden floorboards, with the main ones being urethane, polyurethane (oil or water based), oils and waxes. Each has different characteristics and requirements. There is the option to whitewash or darken the finish to suit your preference, and there are varying levels of gloss. We have tried many. We have recently preferred a waterborne urethane with a satin finish. It’s easy to apply, provides a durable finish and the satin sheen has less lustre, meaning you have a less shiny surface at the end.
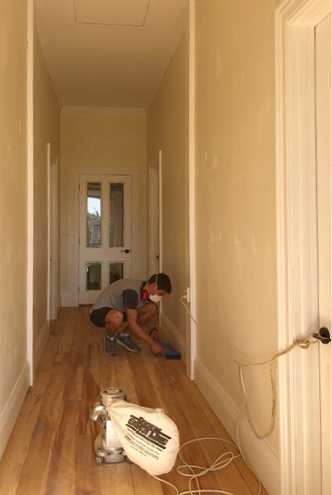
Hard at work clearing up during the restoration.
How Long Will It Take?
Depending on the scale of flooring you’re covering, a typical house will take a week for sanding and finishing before you can move back in. Much of this is drying time between coats. If you’re doing a larger renovation, it’s worth noting the flooring contractor will need to have the rooms to themselves (it’s not a job that can be done with other tradespeople around).
If you’re needing to redo your flooring and there are hardwood floors, consider uncovering these hidden treasures. It provides a good-looking and durable surface that suits rentals and home owners.


